I think sometimes you just want to hit and run when it comes to breakfast. Or. if you’re anything like me, you’re so hungry the moment you wake up that you just want to grab something that’s already made yet still going to be a great start to the day right?
That’s why I just LOVE this chewy, yet crunchy, fast and easy, homemade breakfast bar recipe. It has it all – sugar-free peanut butter for a protein hit, combined with the classic sultanas, oats and pumpkin seeds that we all associate with our morning granola or porridge.
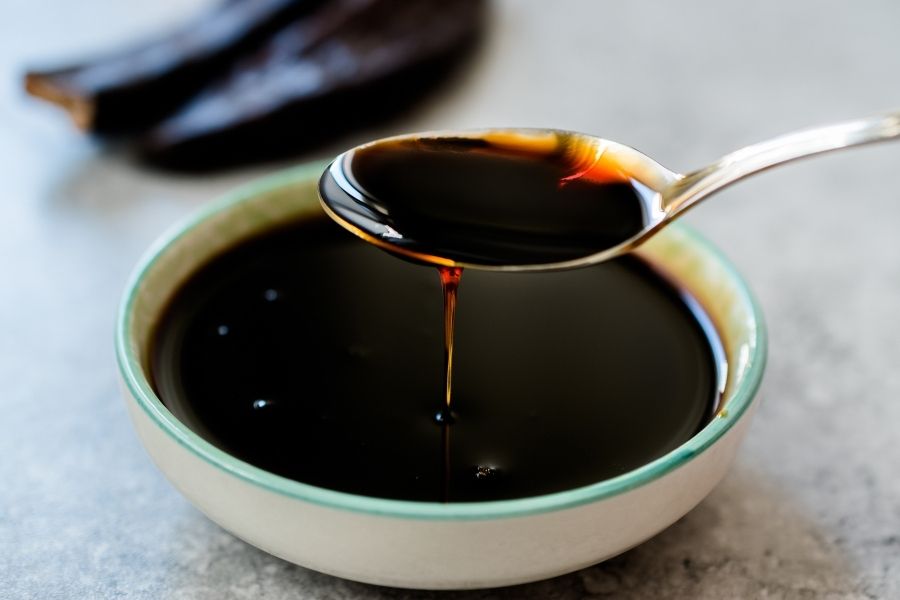
The addition of blackstrap molasses to this recipe gives you an energy boost to start your day. Although blackstrap molasses is in essence a sugar, it’s much more mineral rich than your average white table sugar, and you don’t need much to really get an intense hit of sweetness.
What are the benefits of Blackstrap Molasses?

Blackstrap molasses is a great sweetener alternative that is healthier and way more nutrient rich than your average refined cane sugar. It is very dark in colour, and has a much richer, stronger flavour than your most other sugars, meaning you don’t need as much of it to get the same level of sweetness.
Molasses are made through a process of boiling down sugar cane juice until it is super concentrated and thick and gooey, hence the reason why you don’t need as much to get the same level of sweetness.
You will also find that molasses comes in sulfured and unsulfured – the only difference being that the unsufured is made from the more mature sugar cane in which the cane juice is already concentrated, and the sulfured kind has had the preservative sulfur dioxide added to keep it from being spoiled.
It stands to reason that you should always check labels and go for ‘organic’ and ‘unsulfered’ to keep your molasses as healthy as possible. Preservatives like sulfur dioxide are not good for people with certain allergies, and definitely not good on a healthy plant based diet. So steer clear as much as possible, and always read labels as they will tell you on the ingredients list whether there are any preservatives in your product such as sulfur dioxide.
Blackstrap Molasses Nutritional Information
You can use molasses as a healthier alternative to sugar, but in moderation only as it is still a sugar. It is, however, lower on the GI scale than white sugar, therefore can keep you blood sugar more stable and not cause such a high insulin spike. However, it’s still not suitable for diabetics or people with blood sugar problems as it will still cause a spike, albeit not as bad.
The reason I add blackstrap molasses to these homemade breakfast bars is because they are high in fiber and protein, so any sugar spike will be minimal and slowed down further by the addition of protein, fiber and healthy fats. That’s why these bars can be eaten as a substantial breakfast food that will keep you satiated until lunch.
As well as being healthier than sugar, this kind of molasses is also high in nutrition, and specifically the nutrients needed on the plant based diet. Molasses is a good source of:-
- Iron – 1 x tablespoon gives you 20% of your RDA
- Calcium – 10% of your RDA
- Magnesium
- Potassium
- Vitamin B6
- Manganese
Homemade Breakfast Bar Recipe

You can batch cook these bars because they keep well (approximately 1 week in an airtight container in the fridge). They are durable, and perfect for a grab and run out the door in the morning. They also make a great snack or pre and post workout fuel.
They are high in protein, healthy fats and fibre; and you know exactly what is in them unlike your shop bought granola or breakfast bars. Oh yes, these are a world away from that refined sugar rubbish that you buy in the supermarket, and a faction of the cost. They come in at around 25p each!
This is a FAST and EASY batch cook that takes under 30 minutes all in!!

Homemade Breakfast Bar - Chewy Blackstrap Molasses
Equipment
- Mixing bowl
- Wooden spoon
- Small, thick bottomed saucepan
- 6" by 8" baking tin
Ingredients
- ½ cup of blackstrap molasses
- ⅔ cup crunchy or smooth 100% peanut butter
- 2-3 tbsp maple syrup
- 3 cups porridge oats steel cut may not bind as well, so the finer grain works better
- ⅔ cup sultanas or raisins
- ½ cup pumpkin seeds
- Pinch of salt only if your peanut butter is salt free
Instructions
- Line a 6" by 8" tin with foil or parchment paper. If you use another size, you may need to adjust cooking time by a few minutes either way
- Gently melt your peanut butter in a medium sized saucepan over a low heat. Do not over heat or it will stick and burn fast!
- Once melted (or at least softer), add your molasses and maple syrup. Let it soften, but again, be very careful your molasses doesn't burn. The idea is just to soften everything enough to be able to bind you dry ingredients into it.
- Once softened, turn off heat completely and add all your other ingredients to the saucepan
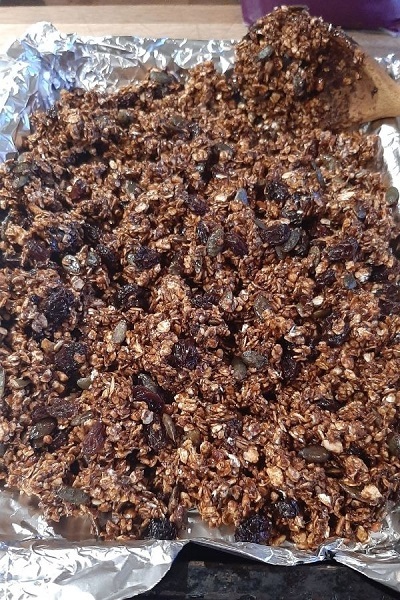
- Mix to combine with a wooden spoon. It will be a really thick, sticky mixture but that's how it's supposed to be. The idea is to coat your dry ingredients, so if you need to add a touch more molasses then you can, but it the mix needs to be very thick and sticky for it to stay together.
- Next, press your mixture down really hard into your pre-lined tin, making sure to press into the corners properly. You don't want any stray bits sticking up because they will burn pretty quickly in your hot oven.
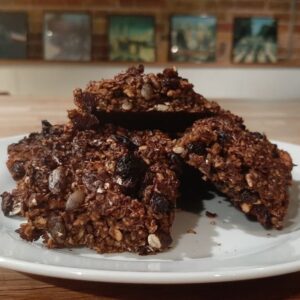
- Bake on the middle shelf of your oven for 18-20 minutes. You will need to check them to make sure they are not burning, but you will find it's almost impossible to not get a little burnage on the top, simply due to the fact that the molasses is so dark and so easy to burn. In fact (as you can see from the images) they can look over-done even when they aren't, simply because of the jet black molasses. They still taste delicious though, I can 100% assure you.
- Remove your bake from the oven and pull the whole thing out of the tin by the sides of the tin foil or parchment paper. Be very careful with this process because they are still hot and prone to crumbling until they cool down and 'set', so, to avoid this, do not remove your tin foil or paper yet. Now place the whole bake on a wire wrack for 10 minutes to partially cool.
- After around 10 minutes (or once they have semi cooled) you can take them off the wrack whilst still in the tin foil, then set down on a flat surface (preferably a big chopping board). Use a large chopping knife to very gently cut out your slices whilst still leaving the whole bake together in the tin foil or parchment paper. You should be able to cut 8-12 slices depending on how big you would like them. To have enough for a complete breakfast bar, you will probably just want to cut into around 8 good sized slices, then snack size bars can be smaller.
- Replace carefully back onto your wire wrack, again, still keeping the whole thing together in the tin foil or parchment paper.
- Leave to cool completely before you begin to remove your tin foil. Doing it this way is the only way to ensure they are hard enough to stay in one piece, otherwise you'll end up with granola!
- Store in an air-tight container. I like to refrigerate mine to keep them really hard and chewy (probably not good for dentures), but to keep them softer, just store in a cool dry place.
- These will keep for up to 1 week in the refrigerator and around 4 or 5 days in the cupboard.
Video
CONCLUSION
Batch cooking snacks like this homemade breakfast bar recipe can really help you to save time on your plant based diet. One of the biggest issues people have with this lifestyle is simply not finding enough time to prepare food, especially if they need to cook different meals for all the family.
Save a little time on the weekend to prep your food, and it will save you loads of time in the week ahead. Also, healthy snacks can stop you from giving in to temptation on unhealthy junk foods.
Please check out our FAST & EASY Plan for more recipes and tips on learning how to put nutritionally complete plant based meals together to keep you healthy for a lifetime.
Thank you for visiting ZestForever today!

